URL Shortener with Django (Part 1) - Creating virtual environment and installing Django
I finally got the time to write a Django tutorial. In this tutorial we are building URL Shortener. If you are confused with what we are building then we are building something similar to (bit.ly) or (goo.gl).
We are building the app that will make a shorter URL of a longer URL. (Example) Normally the shorter URL will be localhost:8000/4hh5kr for www.facebook.com
I am using Django 1.7.1 with Python 3.3.2+. Don’t worry if you have different version of Django because we will set up our virtual environment and install latest version of Django. But be sure you do have Python 3+ because installing Python will not be covered in this tutorial.
I assume that you have completed Writing your first Django app. It is not really essential to complete this tutorial but it is highly recommended that you complete this tutorial before we begin. It will give you a lot of knowledge that will be useful in this tutorial.
You can also get the source code of this app in Github(django_urlshortener).
Well let’s start to build our URL Shortener then.
Create a virtual environment and install Django
Let us start by creating a virtual environment and installing Django. So, open up your Terminal and follow the instruction below.
Create a new folder for our project.
mkdir tutorial
Go inside the tutorial folder (folder we just created)
cd tutorial
Create virtual environment with python 3.
virtualenv -p /usr/bin/python3 py3env
Activate our virtual environment py3env.
source py3env/bin/activate
(Note: To deactivate it you can just use “deactivate” but now don’t deactivate it.)
Run the following command to install Django:
pip install Django==1.7.1
Depending on your Internet speed, it may take some minute or less than a minute.
After done, let us check that Django is really installed.
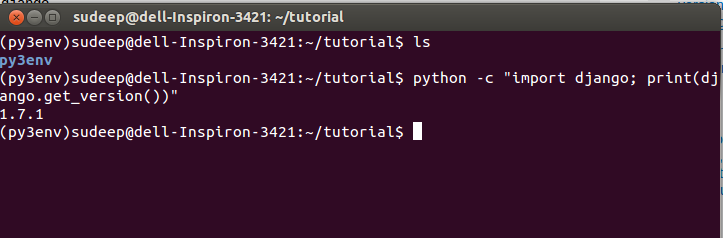
To check the version of Django installed, enter the following command:
python -c 'import django; print(django.get_version())'
You must see something similar to the following:
So, this is the end of the first part. We set up our virtual environment and installed Django. Now you are ready to move to next part.
Before moving to Part 2, from now whenever you follow this tutorial don’t forget to activate virtual environment (py3env) or things may go little wired.
Post Series:
Part 1: Create a virtual environment and install Django
Part 2: Create a new project and make sure it works
Part 3: Create Django App, Model for our App and work with Django Admin
Part 4: Working with URLs and Views